DIY Wolf Tail Tutorial: Beginner’s Guide
Ever dreamed of bringing your cosplay character to life with a realistic wolf tail you made yourself? The final accessory can make or break a costume. Yet, finding a clear guide can feel impossible. You bounce between confusing videos and incomplete photo sets, feeling more frustrated than inspired.
This guide changes that. We've created a comprehensive, start-to-finish handmade wolf tail tutorial designed for beginners. You don't need expensive tools or years of sewing experience.
We will walk you through everything, from choosing the perfect faux fur to sewing your first seam. You’ll learn secure attachment methods for active conventions and simple care techniques to keep your creation looking its best. Get ready to craft an accessory you’ll be proud of.
Why Make a Handmade Wolf Tail?
Curious if the extra effort of a DIY project is really worth it? This section breaks down the three biggest benefits of creating your own accessory, proving that handmade is about more than just saving money—it's about creative ownership.
Store-bought costume pieces can be convenient, but they often lack personality. Making your own DIY wolf tail grants you complete creative freedom. You choose the exact length, color, and texture. You can create a sleek, black tail for a werewolf character or a snowy white one for an arctic wolf spirit.
The cost savings are also a significant factor. High-quality cosplay accessories can be pricey, sometimes running over a hundred dollars. By purchasing your own materials, you can create a superior, custom-fit piece for a fraction of the cost. A recent poll on a popular cosplay forum showed that over 60% of crafters choose DIY to better manage their budget.
Ultimately, nothing beats the satisfaction of seeing your vision come to life. Imagine someone at a convention asking where you bought your amazing tail, and you get to say, "I made it myself." That feeling of pride is a core part of the cosplay and crafting experience.
Materials and Tools You’ll Need
Overwhelmed by the long shopping lists you see on some crafting blogs? We’ll simplify the process by focusing on the absolute essentials you need to start, plus a few fun extras if you're feeling adventurous.
Gathering your supplies is the first exciting step. Think of it like a chef prepping their ingredients. Having everything ready makes the entire crafting process smooth and enjoyable. We’ve broken the list down into essential categories.

Best Faux Fur for Wolf Tails
The fur you choose is the most important decision for your wolf tail costume tutorial. It determines the final look and feel. Look for faux fur with a "long pile," which means the fibers are long and create a fluffy, realistic appearance.
- Luxury Shag Fur: This is the top choice for most crafters. It's dense, soft, and moves beautifully. It comes in a huge variety of natural and fantasy colors.
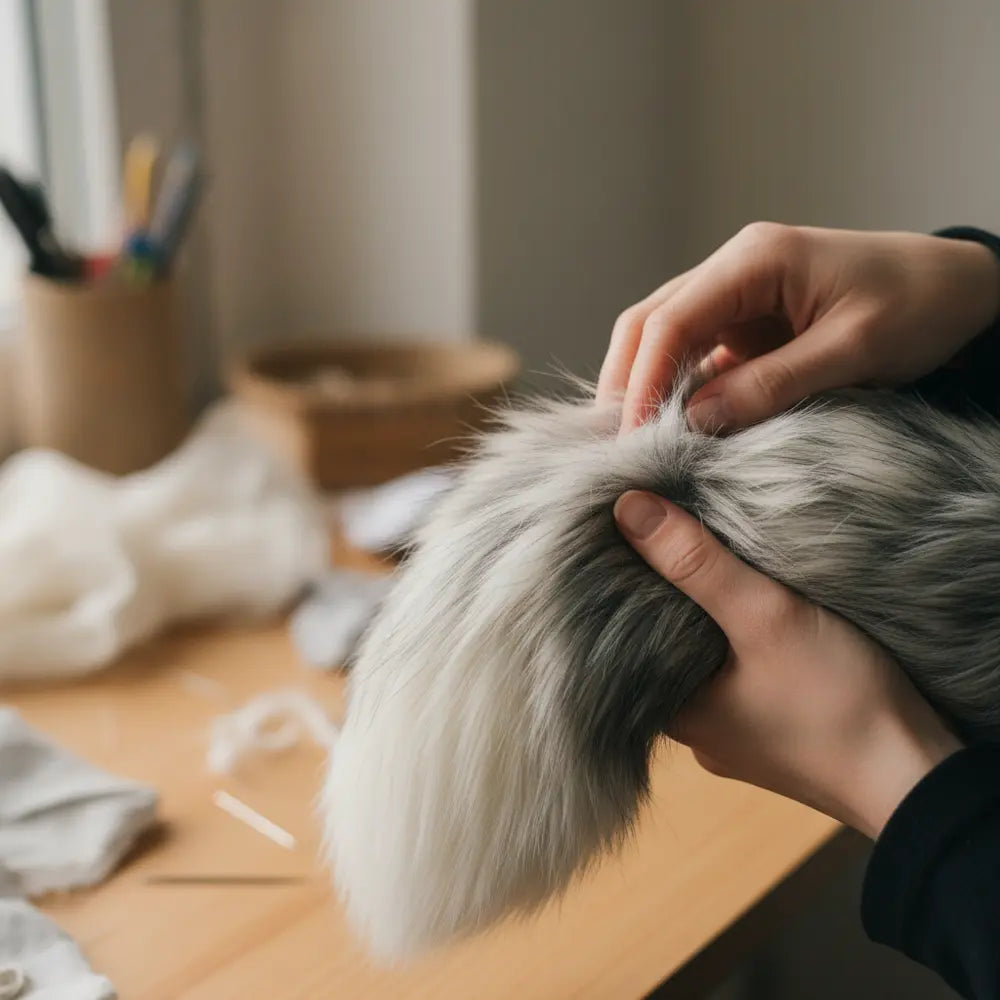
- "Husky" or "Wolf" Fur: Some fabric stores sell fur specifically named for its resemblance to wolf or husky coats. These often have a mix of gray, black, and white fibers for a very natural look.
A small section of fabric, around half a yard, is typically more than enough for a single tail. Don't be afraid to check the remnant bin at your local fabric store for amazing deals on smaller cuts.
Core Sewing Supplies
You don't need a fancy sewing machine for this project. In fact, hand-sewing can give you more control.
- Strong Thread: Choose a color that matches the backing of your faux fur. Upholstery thread is a fantastic, durable option.
- Sharp Needles: A standard sewing needle kit will work perfectly.
- Fabric Scissors: A sharp pair of scissors is non-negotiable for a clean cut.
- Polyester Stuffing (Poly-Fil): This is the fluffy material used to fill pillows and stuffed animals. One bag is plenty.
- Paper for Pattern: A large sheet of paper, like from a roll of kraft paper or even taped-together printer paper, will work.
Attachment and Optional Items
How will you wear your tail? This depends on your costume.
- Nylon Webbing: For creating a sturdy belt loop.
- Heavy-Duty Clips or Safety Pins: For a simpler, temporary attachment.
- A Belt: The easiest way to wear a tail with a belt loop.
Your Complete Shopping List
Ready to go shopping? Download a plain text version of this materials checklist to take with you.
Download ChecklistStep-by-Step Sewing Guide
Does the thought of cutting into expensive fur or making your first stitch feel intimidating? This section provides a detailed, beginner-friendly walkthrough, breaking down each action into a simple, manageable task.
Here is the heart of our wolf tail cosplay tutorial. We will guide you through each part of the process. Remember to take your time and enjoy the creative journey. There’s no rush!
1. Creating and Cutting Your Pattern
Your pattern determines the shape of your tail. A gentle "S" curve or a simple curved teardrop shape works wonderfully for a natural look.
Start by drawing your desired shape onto your large sheet of paper. A good starting length is about 24-30 inches. Once you're happy with the shape, cut it out.
Now, place your paper pattern on the *back* of the faux fur. Trace it twice, once as is, and once flipped over to create a mirror image. These will be the two halves of your tail.
Pro-Tip: To cut faux fur without a huge mess, use a craft knife or box cutter. Carefully slice through the fabric backing only, trying not to cut the long fur fibers. This prevents that dreaded "fur explosion" all over your workspace.
2. Sewing the Halves Together
Place your two fur cutouts on top of each other, with the fur sides facing inward. You should be looking at the fabric backing on both sides. Pin the edges together every few inches to hold them in place.
Leave the flat, wide base of the tail open—this is where you will turn it right-side-out and add the stuffing.
Using your needle and upholstery thread, start sewing along the edge you pinned. A simple backstitch is perfect for this. It’s a strong, reliable hand-sewing stitch that is easy to learn. Make your stitches small and close together to ensure no stuffing can escape later.

3. Stuffing and Shaping Your Tail
Once you’ve sewn all the way around (except for the base), it’s time for the magic moment. Carefully turn the tail right-side-out through the opening at the base. Use a chopstick or the back of a pen to gently push the tip of the tail out fully.
Now, grab your polyester stuffing. The key to a smooth, professional-looking tail is to stuff it in small handfuls. Pushing in one giant clump will create lumps. Start by stuffing the very tip, then slowly work your way back to the base.
Continue adding stuffing until the tail feels firm but still has a bit of give. You want it to hold its shape but still have a natural sway when you move. The difference between an unstuffed "sock" and a fully shaped tail is dramatic and very rewarding.
Attaching Your Wolf Tail
Worried your beautiful new tail might fall off in the middle of a convention? This section details the most secure and discreet attachment methods, so you can move with confidence.
A great tail is useless if it's not attached properly. The method you choose will depend on your costume and how active you plan to be. We’ll cover the three most popular options for this DIY wolf tail.

The Belt Loop Method
This is the most secure and widely used method for cosplay. It involves creating two loops from sturdy nylon webbing and sewing them onto the base of your tail. You then simply slide your belt through the loops.
- Pros: Extremely secure, distributes weight well, allows for natural movement. Perfect for all-day wear at conventions.
- Cons: Requires you to wear a belt, which might not work with every costume design.
To make the loops, cut two 4-inch pieces of nylon webbing. Fold each into a loop and use your needle and thread to sew them securely onto the fabric base of your tail. Stitch them on thoroughly, going over the seam several times for maximum strength. This is the weak point, so reinforcing it is key.
The Heavy-Duty Clip Method
For a quicker or more versatile option, you can sew heavy-duty clips or large safety pins directly to the base of the tail. This allows you to clip it directly onto the waistband of your pants or the back of a costume.
- Pros: Very easy to attach and remove, doesn't require a belt.
- Cons: Less secure than a belt loop. Not recommended for very heavy tails or highly active events, as it can pull on or damage the fabric of your clothing.
A common misconception is that this method is always flimsy. You can make it much more reliable by using at least two large, high-quality clips and sewing them on with reinforced stitches.
The Harness Method
For ultimate stability or for costumes without a clear waistline (like a full bodysuit), a simple harness is a fantastic solution. This involves attaching the tail to an elastic waistband that you wear underneath your costume.
- Pros: The most stable option, completely hidden, works with any outfit.
- Cons: Requires a bit more work to create the separate harness piece.
You can easily craft a harness by sewing your tail's belt loops onto a piece of wide elastic that is sized to fit snugly around your hips or waist. This ensures your tail is anchored to your body, not just your clothes.
Customizing and Designing Your Tail
Want to create a tail that is truly unique and not just a copy of a tutorial? Here, we'll explore creative ways to add personality and flair to your project, turning a simple craft into a piece of art.
Now that you've mastered the basics of this handmade wolf tail tutorial, you can start thinking like a designer. A few simple touches can elevate your tail from good to unforgettable.

Color and Pattern Variations
Don't feel limited to natural colors. Your wolf character could be from a fantasy world with a vibrant blue or deep purple coat. You can even create patterns by sewing different colors of fur together.
A popular advanced technique is airbrushing. Using fabric-safe airbrush paint, you can add a dark tip to your tail or create subtle gradient effects. This adds a level of depth and realism that is hard to achieve otherwise. For a wealth of creative concepts and to see what top artisans are making, the go-to resource is our collection of Unique Handmade Wolf Tail Designs for Cosplay, which showcases incredible ideas from the community.
Adding Accessories and Features
Small additions can define your character's story. Consider adding elements that reflect their personality or history.
- Posable Core: Insert a length of thick, pliable wire (like armature wire) into the tail as you stuff it. This will allow you to bend and pose your tail into different shapes.
- Jewelry and Charms: Weave small beads, rings, or charms into the fur. A few small metal rings near the base can give a battle-worn or tribal look.
- Feathers and Ribbons: Tying leather cords or colorful ribbons around the base is another simple way to add a unique touch.
Imagine a "forest spirit" wolf tail with small wooden beads and green ribbons, or a "cyborg" wolf tail with a few faux wires peeking out. One crafter created a stunning hybrid by combining the shape of a wolf tail with the spotted pattern and colors of a snow leopard, proving the only limit is your imagination.
Caring for Your Handmade Wolf Tail
Afraid that your beautiful creation will get dirty or matted after its first big outing? This section provides simple, effective care instructions to keep your faux fur tail looking fluffy and new for years to come.
Your handmade creation is a piece of art, and it deserves proper care. Faux fur is durable, but it needs a little maintenance to stay looking its best. Proper cleaning and storage will dramatically extend the life of your wolf tail accessory.
Cleaning and Brushing
Never put your faux fur tail in a washing machine or dryer. The heat and agitation will melt and permanently mat the synthetic fibers, ruining it completely.
For cleaning, spot cleaning is the only safe method. Use a damp cloth with a tiny amount of mild soap to gently clean any dirty spots. Then, use another clean, damp cloth to "rinse" the area.
After cleaning or after a long day at a con, your tail will need brushing. A wire pet brush (often called a slicker brush) is the perfect tool for this. Gently brush the fur, starting at the tips and working your way toward the base, to detangle it and restore its fluffiness. You’ll be amazed at how a quick brushing session can revive a tired-looking tail.
Proper Storage
When you’re not wearing it, don’t just toss your tail in a box. This can crush the fibers and cause it to lose its shape. The best way to store your tail is to hang it. You can use a pants hanger with clips to gently grip the belt loops at the base.
If you must store it in a container, try to coil it loosely rather than folding or crushing it. Storing it properly ensures it’s ready to go for your next event without any surprise kinks or flattened spots.
What Character Are You Creating?
Where to Find Inspiration and Community
Feeling like you’re crafting all alone or running low on fresh ideas? We’ll show you where to find bustling communities of fellow creators and endless inspiration for your next cosplay project.
Crafting is even more fun when you can share it with others. Joining a community allows you to ask for advice, show off your finished DIY wolf tail, and get inspired by the incredible work of other cosplayers.
Online DIY Communities
Websites like Reddit and Discord are hubs for crafters. Subreddits like r/cosplay and r/sewing are filled with people sharing their projects, asking for help, and providing encouragement. You can find channels dedicated to costume making where you can get real-time feedback.
Don't be shy! Posting a photo of your finished tail is a great way to connect with people who share your passion. Seeing how others tackle different challenges is a fantastic learning tool. These communities celebrate creativity at all skill levels.
Learning from Other Crafters
Sometimes the best ideas come from looking at different types of projects. Seeing how trends evolve can spark your own unique twist on a design. For instance, exploring the crossover appeal of animal accessories can offer new styling insights. If you're curious about this phenomenon, we break down why fox tails are currently trending well beyond the convention halls, influencing everyday alternative fashion.
Similarly, looking at tutorials for other accessories can teach you new techniques. Once you've mastered the wolf tail, our DIY Handmade Cat Tail: Step-by-Step Guide offers another beginner-friendly project that can help you practice and refine your new sewing skills. Even exploring more complex cosplay tech can spark new ideas; learning what moving cat ears are can inspire you to think about adding animatronic or electronic elements to your future creations.
Your Crafting Journey Begins
You've followed the steps, chosen your materials, and brought your vision to life. You now have a custom-made, beautiful wolf tail that is uniquely yours. You've learned how to cut and sew faux fur, create a secure attachment, and care for your creation. This project is the perfect gateway into the rewarding world of DIY costume accessories.
The most important part of crafting is to have fun and allow yourself to learn. Your first tail might not be perfect, and that's okay. Each project makes you a more skilled and confident creator.
Now go show off your work! We’d love to see your finished handmade wolf tail. Share a photo on social media and tag us. And if you're ready for your next project, explore our other DIY guides for more cosplay fun.
Frequently Asked Questions
1. How long does a DIY wolf tail take for a beginner?
For a first-time crafter, setting aside about 3-4 hours is a good estimate. This includes drawing the pattern, cutting, hand-sewing, and stuffing. More experienced sewers might complete it in under two hours.
2. Can I make a good-looking wolf tail without a sewing machine?
Absolutely! This entire tutorial is designed to be hand-sewn. Using a strong backstitch with upholstery thread is often more durable than a machine stitch for this type of project, ensuring the seams can handle the weight of the stuffing.
3. What’s the best way to make my wolf tail look more realistic?
The key to realism lies in two areas: the fur choice and the movement. Use a high-quality, long-pile faux fur with color variation. Additionally, ensuring the tail is stuffed firmly but not stiffly allows it to have a natural sway when you walk.
4. How do I keep my wolf tail from falling off at a con?
The most secure method is the double belt loop. By threading a sturdy belt through two well-sewn loops at the tail's base, the tail is anchored to your body's center of gravity and won't get pulled off by crowds or energetic movements.