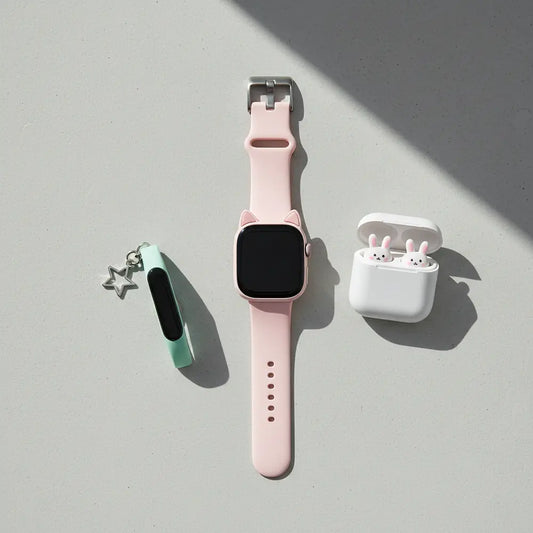
DIY Animatronic Cat Ears with Arduino
DIY Animatronic Cat Ears with Arduino: The Advanced Guide
Imagine walking into a cosplay convention. The energy is electric. As you move through the crowd, your animatronic cat ears twitch at the sound of a camera shutter. You tilt your head to greet a friend, and your ears tilt with you, full of expression and life. This isn't just a prop; it's a part of your character.
Too many online guides for DIY animatronic ears stop at the basics: a simple servo that wiggles back and forth. For makers and cosplay engineers who crave more, this is frustrating. You want realism, responsiveness, and a project that truly challenges your skills.
This guide is your next step. We move beyond simple scripts to explore a world of sensor integration, smart programming, and even AI-driven behaviors. We will cover the core build, then elevate it with accelerometers for head tracking, sound sensors for reactive twitches, and programming techniques for lifelike movement.
You'll learn not just how to build moving ears, but how to give them a personality. We'll examine power solutions for all-day convention wear, aesthetic finishing touches, and draw inspiration from real-world case studies. Let's build something extraordinary.
Why Go Beyond Basic Animatronic Ears?
Ever feel like your animatronic projects are stuck on a loop of simple, predictable movements? This section explains how integrating sensors and smart programming elevates your creation from a moving prop to a responsive character.
Most tutorials for Arduino cat ears teach you how to make them move, but they don't teach you how to make them feel alive. A simple, repetitive sweep of a servo is mechanical. True artistry in animatronics comes from creating the illusion of thought and reaction. It's the difference between a puppet and a character.
Advanced makers and experienced cosplayers want that next level of immersion. By integrating sensors, your creation stops performing a pre-written script and starts reacting to its environment. This responsiveness is what captivates an audience and brings your character to life in a way a static costume piece never could.
The goal is to infuse your robotic cat ears with personality. Does your character get startled by loud noises? Their ears should twitch. Are they curious? Their ears should perk up as they tilt their head. This level of interaction is now possible with accessible sensors and smarter code. For those new to this exciting blend of fashion and technology, it's worth exploring the fundamentals. Understanding the core concept behind these devices is the first step. To learn more, delve into our explanation of what moving cat ears are and the tech that drives them.
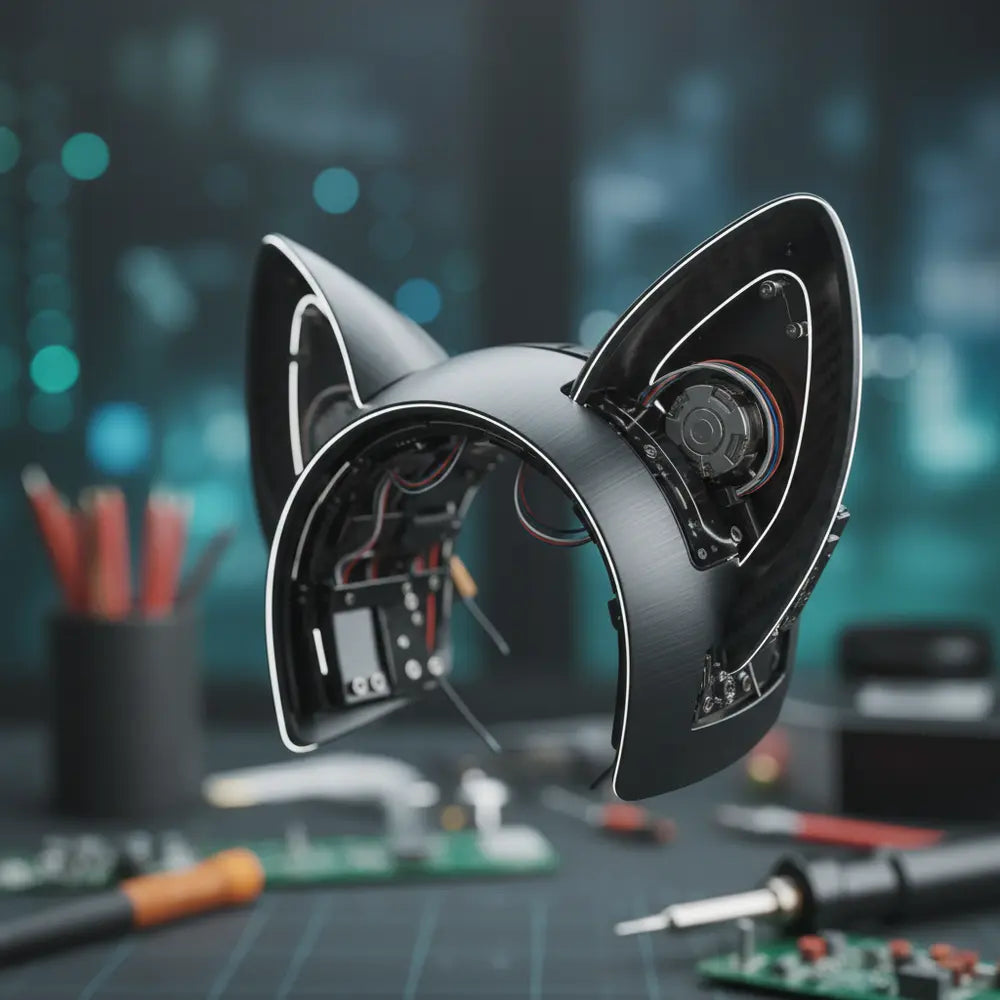
Core Components for DIY Robotic Cat Ears
Overwhelmed by the sheer number of parts and unsure which ones will deliver smooth, silent performance? Here, we break down the essential hardware, from the perfect servo motors to the best materials, ensuring your build starts on a solid foundation.
Choosing the right components is the foundation of a successful project. A poor choice here can lead to jittery movements, loud noises, or a build that's too heavy and uncomfortable to wear. Let's dissect the key hardware you'll need.

The Brains: Arduino and Microcontrollers
The Arduino platform is the heart of our project. An Arduino Nano or a similar small-form-factor board is ideal due to its size and sufficient processing power. These boards are easy to program and have plenty of pins for connecting servos and sensors, making them perfect for wearable electronics.
The Muscles: Choosing the Right Servo Motors
Your choice of servo motor is critical. Cheap, noisy servos can ruin the magic of your cosplay. You need motors that are small, quiet, and powerful enough for the task. Digital micro servos often provide smoother motion and better holding torque than their analog counterparts.
Look for servos with metal gears for improved durability, especially if you plan to wear the ears at long events. A common mistake is using oversized servos that add unnecessary weight and bulk. For this application, a 9-gram micro servo is typically the sweet spot.
For a comprehensive breakdown of tested options, our Best Servo Motors & Arduino Kits for DIY Moving Cat Ears (2025 Guide) is the definitive resource. It details the top choices for performance, noise level, and reliability, saving you hours of research and potential mistakes.
The Skeleton: 3D Prints, Foam, and Headbands
The mechanical structure holds everything together. The most popular solution is a 3D printed moving cat ear mechanism. You can find numerous pre-made designs on platforms like Thingiverse or design your own for a custom fit. These provide a reliable way to translate servo rotation into ear movement.
If you don't have a 3D printer, don't worry. Lightweight materials like EVA foam or thermoplastics can be shaped to create a durable and effective mechanism. The final assembly is mounted onto a sturdy headband that can comfortably support the weight of the electronics without slipping.
Step-by-Step Build: DIY Animatronic Cat Ears
Ready to turn that pile of components into a working mechanism? This section provides a clear, step-by-step guide to assembling and programming the foundational movement of your animatronic ears.
With your components selected, it's time to bring them together. This phase focuses on building the core physical and software structure. We'll assemble the mechanism, wire the electronics, and upload a basic script to confirm that everything moves as it should.

- 1Assemble the Mechanism: If using a 3D printed kit, carefully assemble the parts according to the designer's instructions. Ensure the moving parts pivot freely without binding. This is the moment to sand any rough edges for the smoothest possible action.
-
2Wire the Servos to Your Arduino: Connect the servos to your Arduino board. Typically, the brown or black wire is Ground (GND), the red wire is 5V Power, and the orange or yellow wire is the Signal pin. Connect the signal pins to two of the Arduino's PWM-capable digital pins (often marked with a
~). - 3Mount to the Headband: Securely attach the assembled ear mechanism to your headband. Position it carefully for both aesthetic appeal and balance. A common pro-tip is to use zip ties for initial placement, then secure it more permanently with epoxy or screws once you are happy with the position.
-
4Program a Basic Motion Sketch: Write and upload a simple Arduino sketch to test the movement. Use the
Servo.hlibrary to sweep each ear back and forth. This initial test confirms your wiring is correct and the mechanism moves freely before you add more complex programming.
Integrating Sensors for Smart Ear Movements
Want your ears to react to the world around them, just like a real animal? This chapter unlocks the magic of responsive animatronics, guiding you through integrating accelerometers and sound sensors for truly interactive cosplay.
This is where your project evolves from a simple gadget into a piece of responsive art. By adding sensors, you give the ears "senses," allowing them to react to your movements and the sounds around you. This creates an unparalleled level of realism and interactivity.

Accelerometers for Head-Tracking
Ever wish your ears would perk up when you look up, or droop when you look down? Learn how to use an accelerometer to sync ear movement with your own head gestures, creating an incredible illusion of life.
An accelerometer measures orientation and movement. Think of it as the inner ear for your project. By mounting a small accelerometer module, like the MPU-6050, onto the headband, your Arduino can detect which way you are tilting your head. This data is the key to creating natural, gesture-based ear movements.
You can program the ears to droop when you look down, perk up when you look up, or tilt left and right as you do. A crucial pro-tip is to implement a data smoothing algorithm in your code. Raw accelerometer data can be "jittery," but averaging the last few readings creates a beautifully fluid and organic motion.
Sound Sensors for Twitch Response
How can you make your ears react to a sudden noise or a friend calling your name? We'll show you how to wire and program a sound sensor, giving your cosplay the ability to 'hear' and react with a realistic twitch.
A simple microphone module acts as your project's ear. These sensors detect sound levels, not specific words. You can set a threshold in your code, so that when the ambient noise level suddenly spikes—from a clap, a shout, or a camera shutter—it triggers a pre-programmed ear twitch.
This single feature adds an incredible layer of realism. Imagine your cat character's ears flicking in surprise at a loud bang across the convention hall. This simple cause-and-effect makes the cosplay feel reactive and aware, drawing in everyone who sees it.
Community Poll: Which Sensor Would You Use First?
Help us see what the community is most excited to build!
Exploring AI-based Ear Movement Patterns
Tired of repetitive, robotic ear movements? Discover how to implement simple AI principles to generate natural, unpredictable, and lifelike ear behaviors that will captivate everyone you meet.
When we say "AI" for this project, we aren't talking about complex machine learning. We are talking about using algorithms to break free from predictable loops. Instead of a simple A-B-A-B movement, you can generate patterns that never seem to repeat, mimicking the subtle, idle motions of a real animal.
One powerful technique is using Perlin noise, an algorithm that generates natural-looking random sequences. By mapping this noise to your servo positions, you can create slow, wandering ear movements that feel organic. You can build a "behavioral library"—a set of functions for curious, alert, relaxed, and startled—and have the AI randomly transition between them for truly lifelike results.
Programming Advanced Movements in Arduino IDE
Is your Arduino code a messy collection of delay() functions and repetitive loops? This section transforms you from a coder into a choreographer, teaching you how to build a flexible library of movements for your animatronic ears.
Great animatronics are powered by great code. Advanced movement isn't about writing more code, but writing smarter code. We'll move away from basic blocking functions and build a responsive system that can handle sensor input and complex motion simultaneously.
The Problem with 'delay()'
A common beginner mistake in Arduino code for moving cat ears is using the delay() function to time movements. This function freezes the entire program. While it's paused, the Arduino can't read sensors or respond to any new input. This makes creating reactive behaviors impossible.
The Pro-Level Solution: Non-Blocking Code
The professional solution is to use the millis() function. This function acts like a stopwatch, tracking how much time has passed without pausing the code. By constantly checking millis(), you can trigger different animations and read sensors all at once, creating a truly multitasking program.
This allows you to build a state machine. For instance, the ears could be in an "idle" state, performing slow, random flicks. When the sound sensor detects a noise, the state changes to "alert," triggering a fast twitch animation. After a few seconds, it returns to "idle." This creates a much more dynamic and believable system.
Building a Movement Library
Instead of hard-coding movements, create a library of functions. Write a function for twitchLeft(), perkUp(), droopSlowly(), etc. This modular approach makes your main loop cleaner and easier to manage. You can then call these functions based on sensor inputs or a randomized timer, choreographing a beautiful performance.
Power Solutions and Durability for Conventions
Worried your masterpiece will die halfway through the convention or fall apart on the show floor? Here’s your guide to building a robust, reliable power system and ensuring your animatronic ears can survive the rigors of a multi-day event.
A brilliant design is useless if it fails on the convention floor. Wearable electronics present unique challenges in power management and durability. Your servo-driven cosplay ears need to be lightweight, comfortable, and tough enough to last for 8+ hours of continuous use.
Battery Power for All-Day Performance
For untethered movement, a portable power source is a must. A small USB power bank is a simple and safe option, easily fitting into a pocket or a pouch on your costume. It provides a stable 5V supply that is perfect for the Arduino and servos.
For more compact builds, a Lithium Polymer (LiPo) battery can be used. However, LiPos require careful handling. A critical safety measure is to use a battery protection circuit to prevent over-discharge. A common mistake is underestimating power draw; two active servos can drain a small battery faster than you think. Always test your run-time at home first.
Heat, Weight, and Cable Management
Servos generate a small amount of heat, and the voltage regulator on your Arduino can get warm. Ensure your 3D printed housing has some ventilation. Keep the overall weight down by using micro servos and a small microcontroller. Every gram counts when it's on your head all day.
Clean cable management is not just for looks; it prevents snags that can damage your project. Braid your wires or use heat-shrink tubing to create a clean harness. Run the main cable down your back, hidden within your cosplay, to a discreetly located battery pack.
Customization and Aesthetic Finishes
The electronics work, but how do you make it look like a believable part of your cosplay? This section covers the artistic side of the build, from applying fur and fabric to seamlessly integrating the tech into your character's design.
With the mechanics perfected, the final step is artistry. Transforming the plastic and wires into believable, character-appropriate ears is what sells the illusion. This phase is all about aesthetics, texture, and seamlessly blending the technology into your costume.

The most common method for finishing is covering the ear forms with faux fur or fabric. A pro-tip is to create a "sock" from the material that you can slide over the ear and secure at the base. This allows you to remove it for maintenance. Use a high-tack fabric glue or hot glue sparingly to attach the material.
Don't be afraid to add more technology. Integrating addressable LEDs like NeoPixels can add a magical or sci-fi glow to your ears. You can program lighting patterns that sync with the ear movements, such as a red flash when they twitch in alarm.
The goal is to hide the "how" so the audience only sees the "wow." For a complete masterclass on materials, styling, and integrating the ears into your character's look, the DIY Moving Cat Ears: Arduino Cosplay Guide is an essential resource. It focuses entirely on the artistic finishing touches that make your project shine.
What Makers Are Saying
"The non-blocking code part was a game-changer. My ears feel so much more alive now! This guide finally got me past the beginner tutorials."
- Jessa C., Cosplay Engineer
"I was struggling with jittery servos. The advice on data smoothing and choosing the right motors saved my project. Can't wait for the next con!"
- Mike R., Maker
Case Studies and Inspiration from Makers
Need to see how these advanced concepts work in the real world? Get inspired by fellow cosplay engineers who have pushed the boundaries of animatronics, and learn from their successes and challenges.
The maker community is full of innovators. Let's look at a fictional-but-plausible case study that combines the techniques we've discussed. A maker named Alex wanted to cosplay a "Cyber-Cheshire Cat" character and decided to give it fully responsive animatronic cosplay headgear.
Alex used an MPU-6050 accelerometer for head tracking and a microphone module for sound reactivity. But the real innovation was in the programming. Using a Perlin noise algorithm, the ears had a constant, subtle, and non-repeating "idle" animation that made them look alive even when still.
When the sound sensor detected a sharp noise, it triggered an "alert" state: both ears would instantly flick towards the sound's general direction. If Alex tilted their head forward, the ears would pivot forward in a "curious" motion. This project demonstrates how combining sensors with smart AI patterns creates a truly stunning and immersive piece of art. This is just one example of how animal-inspired accessories are evolving. Similarly, the popularity of other costume pieces is also on the rise, proving that fox tails are trending far beyond the convention floor and into mainstream creative expression.
You've journeyed from the basics of servo control to the advanced world of sensor-driven, AI-enhanced animatronics. Building a pair of DIY animatronic ears is more than a technical exercise; it's about breathing life and personality into your cosplay. The subtle twitch, the curious tilt—these are the details that create magic.
The true potential is unlocked when you combine a solid mechanical build with smart, responsive programming. This is what separates a simple moving prop from a captivating performance piece. We encourage you to take these concepts, experiment, and make them your own.
Get a Head Start on Your Build!
Ready to take your cosplay electronics to the next level? Subscribe to our newsletter for more advanced Arduino projects and tutorials. To help you get started, download our free **Wiring & Components Checklist PDF** to ensure your build is a success from the very first step.
Download Checklist PDFFrequently Asked Questions
The cost can vary widely based on your component choices. A budget build using cheaper servos and an Arduino clone could be done for around $30-$50. A high-end build with premium digital servos, a genuine Arduino, and a 3D printed mechanism could cost $70-$100 or more.
Absolutely. While 3D printing is popular, you can create a robust mechanism using other materials. Many makers use EVA foam, cutting and layering it to build the structure. Others use thermoplastics like Worbla, which can be heated and shaped into a durable and lightweight frame.
Weight management is key for comfort. Use micro servos (like 9g models) instead of standard-sized ones. Choose a lightweight microcontroller like an Arduino Nano. Power it with a small USB power bank or a compact LiPo battery. Finally, use a wide, comfortable headband to distribute the weight evenly.
Plan your wiring path carefully. Braid the wires from the ears into a single, neat cable. You can then run this cable down the back of the headband and underneath your wig or hair. From there, route it under your collar and down your back to a battery pack hidden in a pocket or a custom pouch integrated into your costume.